Member-only story
Hierarchical Namespaces in Kubernetes
Introduction & Hands-on Demonstration!
In Kubernetes a Namespace is the most fundamental building block. It helps to organise & isolate resources within a cluster by creating a logical partitions. By separating resources into different namespaces, administrators can enforce security policies, limit resource consumption, and ensure a clean, organised environment.
In order to create a Namespace in Kubernetes, one could follow -
- Either the declarative way -
$ echo "apiVersion: v1
  kind: Namespace
  metadata:
      name: <insert-namespace-name-here>" > ns.yaml

$ kubectly apply -f ns.yaml- Or the imperative way -
$ kubectl create namespace <insert-namespace-name-here>Limitations of Kubernetes Namespaces
Namespaces are indeed very useful — You may find yourself creating many namespaces per cluster. However, at scale, numerous namespaces might lead to management issues.
Consider these scenarios —
Scenario #1 — You might want many namespaces to have similar policies applied to them, such as to allow access by members of the same team. However, since Role Bindings operate at the level of individual namespaces, you will be forced to create such Role Bindings in each namespace individually, which can be tedious and error-prone. The same applies to other policies such as Network Policies and Limit Ranges.
Scenario #2 — You might want to allow some teams to create namespaces themselves as isolation units for their own services. However, namespace creation is a privileged cluster-level operation, and you typically want to control this privilege very closely.
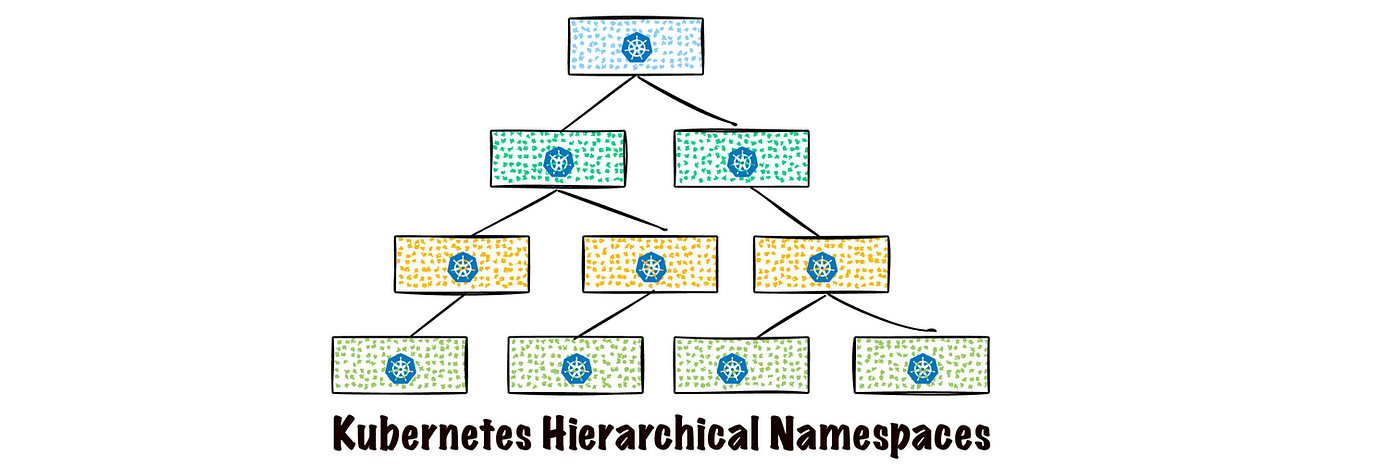
Hierarchical Namespaces
These are simple extension to Kubernetes namespaces that addresses some of the shortcomings of namespace we discussed above. It addresses these problems by allowing one to organise their namespaces into trees, ability to create new namespaces within those trees and allowing to apply policies to those trees (or their subtrees).